

How do I make a zig - zag braided elastic band?
Oct 28, 2026
Leave a message
Making a zig - zag braided elastic band can be a fun and rewarding DIY project, and as a braided elastic band supplier, I'm here to share the process with you. Whether you're looking to create some unique crafts or just want to understand the ins and outs of how these bands are made, this guide is for you.
Materials You'll Need
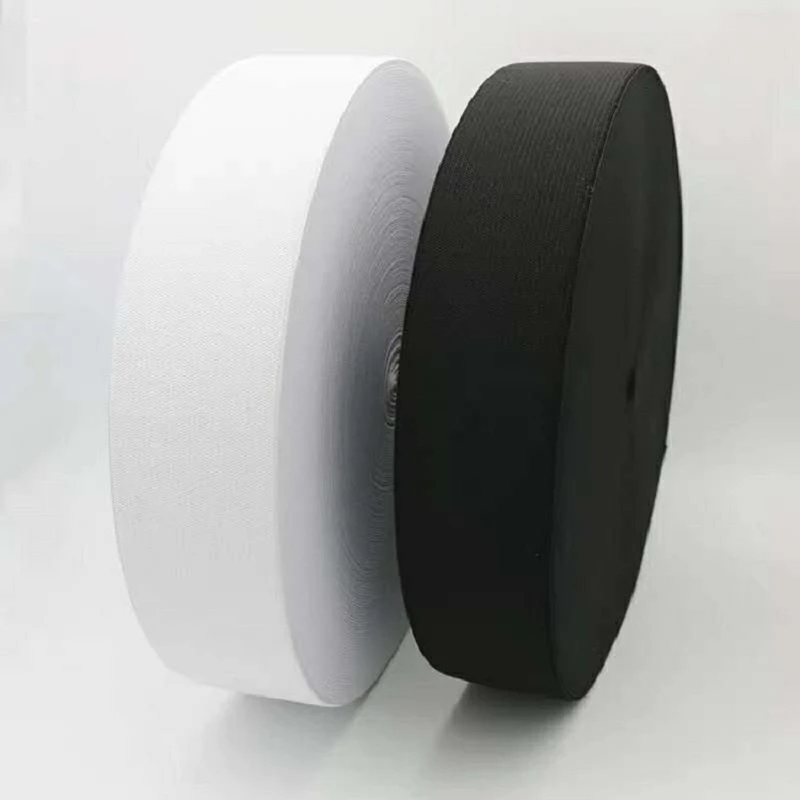
First things first, let's talk about what you'll need to make a zig - zag braided elastic band. You'll need an elastic band. The type of elastic band you choose depends on your preference. We offer a variety of options on our website, like the Non - marking Elastic Band which is great if you don't want any marks left on the fabric it comes in contact with. You'll also need scissors, a ruler, and a small piece of tape to hold the ends of the elastic in place while you're braiding.
Preparing the Elastic
Start by measuring out the length of elastic you need. If you're making a bracelet, for example, you'll want to measure around your wrist and then add a few extra inches for the braiding and tying. Once you've measured, use the scissors to cut the elastic band. Make sure the cut is clean and straight.
Next, take the small piece of tape and secure one end of the elastic to a flat surface. This will keep the elastic from moving around while you're braiding. It's important to have a stable base so that you can create a neat and even zig - zag pattern.

Creating the Zig - Zag Pattern
Now comes the fun part - creating the zig - zag pattern. Hold the free end of the elastic in your right hand. Start by folding the elastic over itself at an angle to create the first "zig" of the pattern. You can make the angle as sharp or as gentle as you like, depending on the look you're going for.
Once you've made the first fold, take the end of the elastic and tuck it under the part of the elastic that's nearest to the taped end. This will lock the fold in place. Now, make the next fold in the opposite direction to create the "zag" of the pattern. Again, tuck the end of the elastic under the nearest part of the already - braided section.
Keep repeating this process, alternating between "zig" and "zag" folds, until you've reached the desired length of your braided elastic band. It might take a little practice to get the hang of it, but don't worry. With each fold, you'll get better at creating a consistent and attractive pattern.
Finishing the Braided Elastic Band
Once you've braided the elastic to the length you want, it's time to finish off the band. If you're making a bracelet or something similar, you can tie the two ends of the elastic together in a knot. You can also use a small ring or clasp to join the ends, giving it a more professional look.
If you're using the braided elastic band for a different project, like hemming a piece of clothing or creating a trim, you can simply cut off any excess elastic and sew the band in place. Make sure to sew it securely so that the braided pattern stays intact.
Different Types of Elastic Bands for Zig - Zag Braiding
As I mentioned earlier, we offer a wide range of elastic bands that are perfect for zig - zag braiding. The Seamless Elastic Band is a great choice because it doesn't have any seams that could get in the way of the braiding process. It's also very stretchy and durable, making it ideal for long - lasting projects.
The Folded Elastic Binding is another option. It has a pre - folded edge that can add a nice decorative touch to your braided bands. It's also very easy to work with, especially if you're new to braiding.
For a more modern and sleek look, the Seamless Flat Elastic Band is a great choice. It lies flat against the fabric, making it perfect for projects where you want a smooth finish.
And if you need a band that can provide a strong hold, the Binding Elastic Band is the way to go. It's thick and sturdy, and it can be used for a variety of applications, from clothing to crafts.
Tips and Tricks
- Keep your fingers clean and dry while braiding to prevent the elastic from slipping.
- If you're having trouble keeping the folds in place, you can use a small dab of glue on the edges of the folds. Just make sure it's a glue that won't damage the elastic.
- Experiment with different colors and widths of elastic bands to create unique and eye - catching designs.
Why Choose Our Elastic Bands
As a supplier, we take pride in offering high - quality elastic bands. Our bands are made from the finest materials, ensuring they are strong, stretchy, and long - lasting. We also have a wide variety of colors and styles to choose from, so you can find the perfect elastic band for your project.
Whether you're a professional crafter or just someone who likes to do a little DIY on the side, our elastic bands are a great choice. We understand that different projects have different requirements, and that's why we offer such a diverse range of products.
Contact Us for Your Purchasing Needs
If you're interested in purchasing our elastic bands for your zig - zag braiding projects or any other applications, we'd love to hear from you. We offer competitive prices and excellent customer service. Whether you need a small quantity for a personal project or a large order for a business, we can accommodate your needs. Contact us to start a conversation about your requirements, and let's work together to find the perfect braided elastic bands for you.
References
- Crafting magazines and online crafting communities for general braiding tips.
- Manufacturer's guidelines for the care and use of elastic bands.